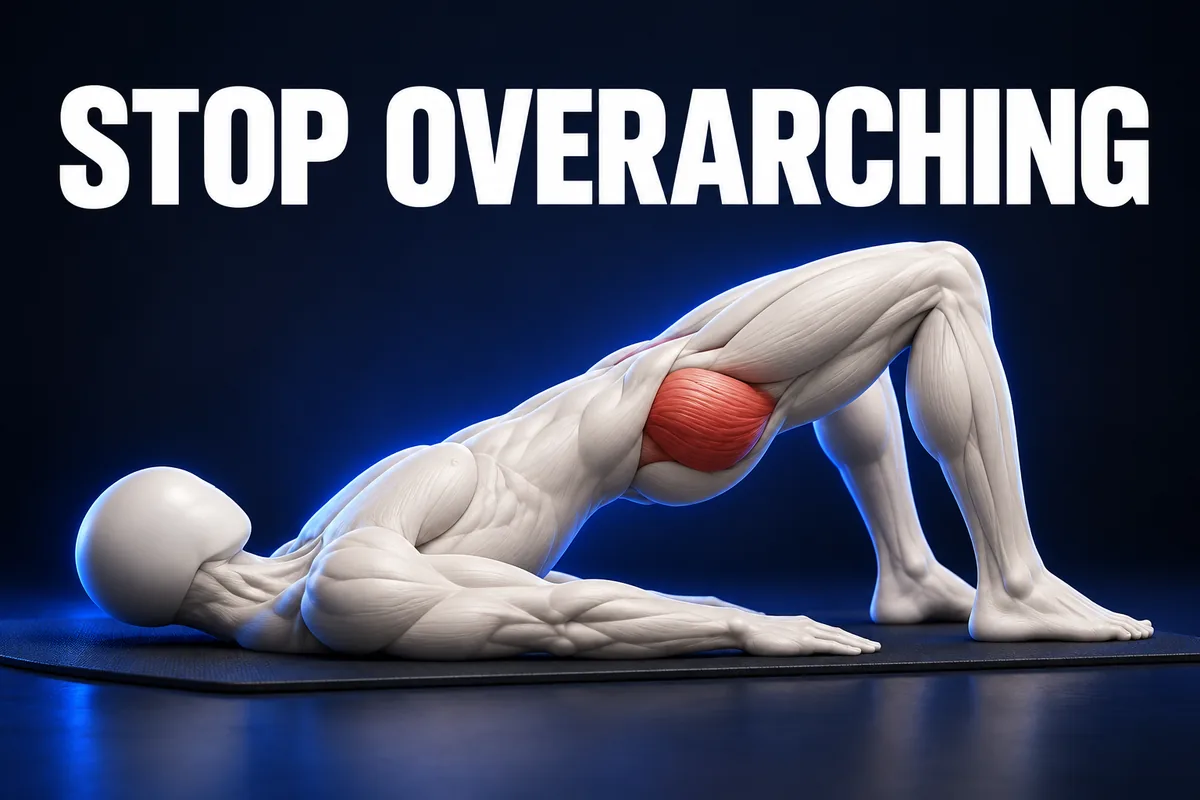
A glute bridge trains hip extension while your upper back and feet stay supported. The useful target is a repeatable lift with a steady trunk. Raising your hips as high as possible can turn the movement into an exaggerated back arch. Start with the basic version using both feet.
Set up on the floor
Use a mat on a firm surface with room for your whole body. Lie on your back, bend your knees and place your feet about hip width apart. Rest your arms beside you. Keep your head and shoulder blades supported. Choose a foot position that lets you keep your soles down without strain.
Make each repetition controlled
- Gently tighten your abdomen before lifting. Keep breathing rather than bracing so hard that you hold your breath.
- Squeeze your glutes and press through your feet, with steady heel contact, as you breathe out and raise your hips.
- Stop at a comfortable height. Your shoulders, hips and knees can approach a diagonal line, but do not force that position by arching your lower back.
- Breathe in as you lower slowly. Let your hips settle before the next repetition instead of bouncing.
These cues follow the ACE bridge instructions and Cleveland Clinic technique guide. The glutes are a main focus, while other muscles also contribute. Feeling a muscle work is not a precise test of how much it is working.
Three checks before you add repetitions
- If your ribs lift and your back arches at the top, lower the height and reset your abdominal tension. Extra height is not the goal.
- If your heels lift or your feet slide, stop and reset on a surface with better grip. Keep both feet planted throughout the lift.
- If a hamstring cramps, lower and rest. A small adjustment bringing your heels closer may help, as Cleveland Clinic explains. Do not push through repeated cramping or pain.
Choose a first set you can control
Warm up before strength work. Mayo Clinic recommends five to ten minutes of walking or similar activity. As a short technique practice, try five slow bridges, then rest and assess. Five is an example for learning the movement, not a universal training prescription. Use fewer if control or comfort changes.
When that practice feels steady, build repetitions gradually within your overall programme. Change one thing at a time so you can judge the result. Keep both feet down while learning; adding a leg lift or weight introduces a different challenge. Read our guide to progression before making several changes at once.
Record quality as well as the count
Write down the date, repetitions and one cue, such as feet stayed planted or used a smaller lift. Compare sessions with the same setup. A larger arch or a faster set should not be logged as better technique. A bridge is one exercise, not a complete strength programme; our chair standing guide covers another beginner movement.
To place this bridge in a broader session, try our workout with one dumbbell. The bridge stays unweighted while other movements use the dumbbell.
Stop if you develop pain. If you have a recent injury, persistent symptoms or difficulty getting safely onto and off the floor, ask a qualified clinician or fitness professional about a suitable option. This guide teaches an exercise and does not diagnose back pain or promise a particular body shape.