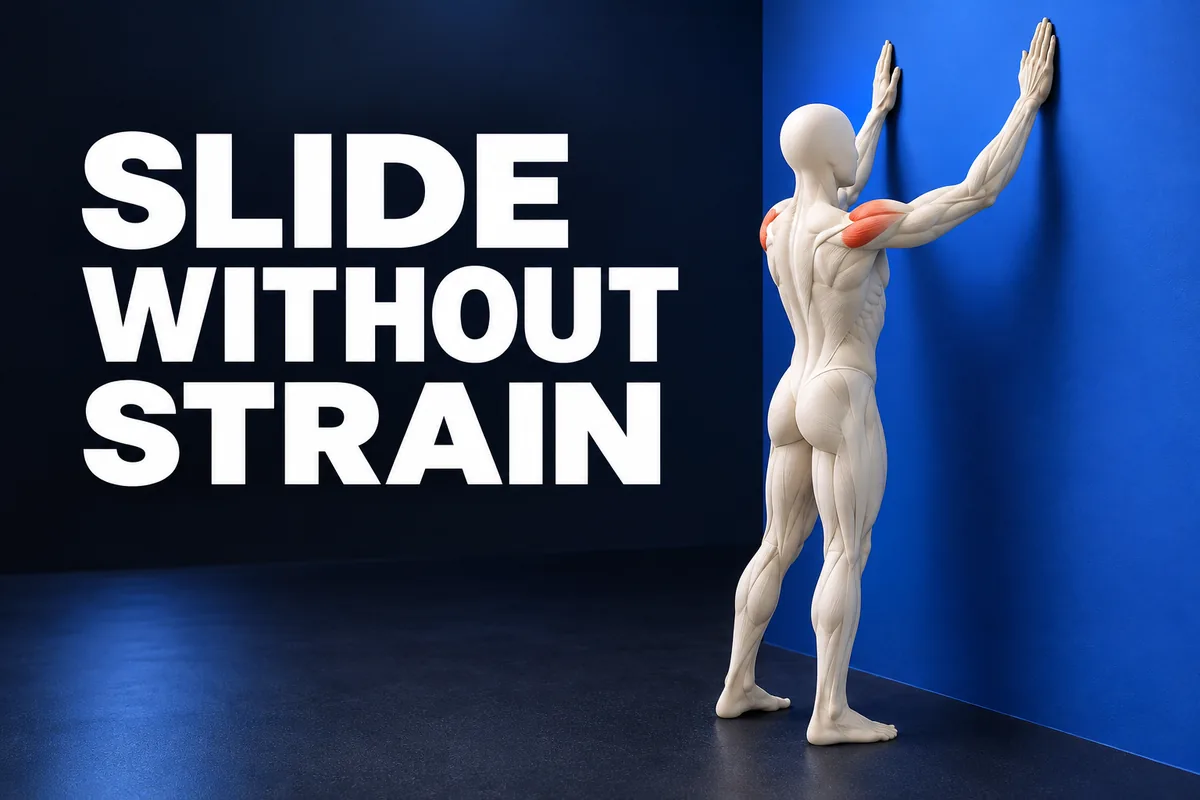
A shoulder wall slide lets you practise raising and lowering your arms with light support from a wall. This guide uses the version facing the wall. It is different from wall angels with your back against the wall, and from a wall push up.
Set up a clear surface
Choose a smooth, secure wall and a dry floor with reliable grip. Stand close enough to reach without leaning your whole weight forward. A small split stance may help you feel steady.
The Dorset NHS instructions use the edges of the hands against the wall, with the thumbs facing you. A cloth between the hands and wall can make sliding easier. Keep it under control; do not rely on friction to hold your body up.
Begin with elbows bent and hands around shoulder height, or lower if that is more comfortable. Keep your head comfortably above your trunk.
Slide and return slowly
Apply light pressure into the wall and glide the hands upward. A small step forward can accompany the movement. Stop at a comfortable height before you need to arch your lower back or strain.
Let the shoulder blades move naturally as your arms rise. Do not squeeze them together or pin them down. Keep breathing, then lower the hands slowly and reset your stance.
Try three to five easy repetitions as a learning example, or fewer. This is not a prescribed rehabilitation dose. The clinical source gives a different repetition schedule; an individual treatment plan takes priority.
Change the range before forcing the movement
If your ribs lift and your back arches, finish the next repetition lower. If the neck becomes tense, relax and try less movement. Touching the highest possible point is not the goal.
Mayo Clinic guidance emphasizes gentle movement and avoiding pain during stretching. For this practice, stop for pain, pinching, tingling or instability. Persistent symptoms, recent injury or surgery call for individual professional advice.
Record a repeatable setup
Note your distance from the wall, starting hand height and whether you kept a steady trunk. Compare comfortable attempts with the same setup. One higher reach does not prove lasting improvement or diagnose a shoulder problem.
Use the beginner mobility guide to build a small routine. For a different shoulder direction, the cross body stretch targets the back of one shoulder. The seated chest stretch opens the front of the chest. These are separate options, not exercises you must complete together.
For a different shoulder path with the elbow nearby, see shoulder rotation with a stick.
For a supported forward path on a horizontal surface, see the shoulder table slide guide.
When you want a seated shoulder blade motion without raising the arms, compare the seated shoulder blade squeeze guide with this wall slide.
For a forward arm rise guided by the other hand rather than the wall, see the light stick raise.