Confirm your personal instructions
Use this explanation only if a clinician has personally taught and cleared this exact unresisted movement for you. The Royal Berkshire leaflet places it in rehabilitation after hip arthroscopy. Its stages, eight repetitions and later band exercises are not general permission or your personal programme. Keep prescribed equipment and movement restrictions.
Keep the supported starting shape
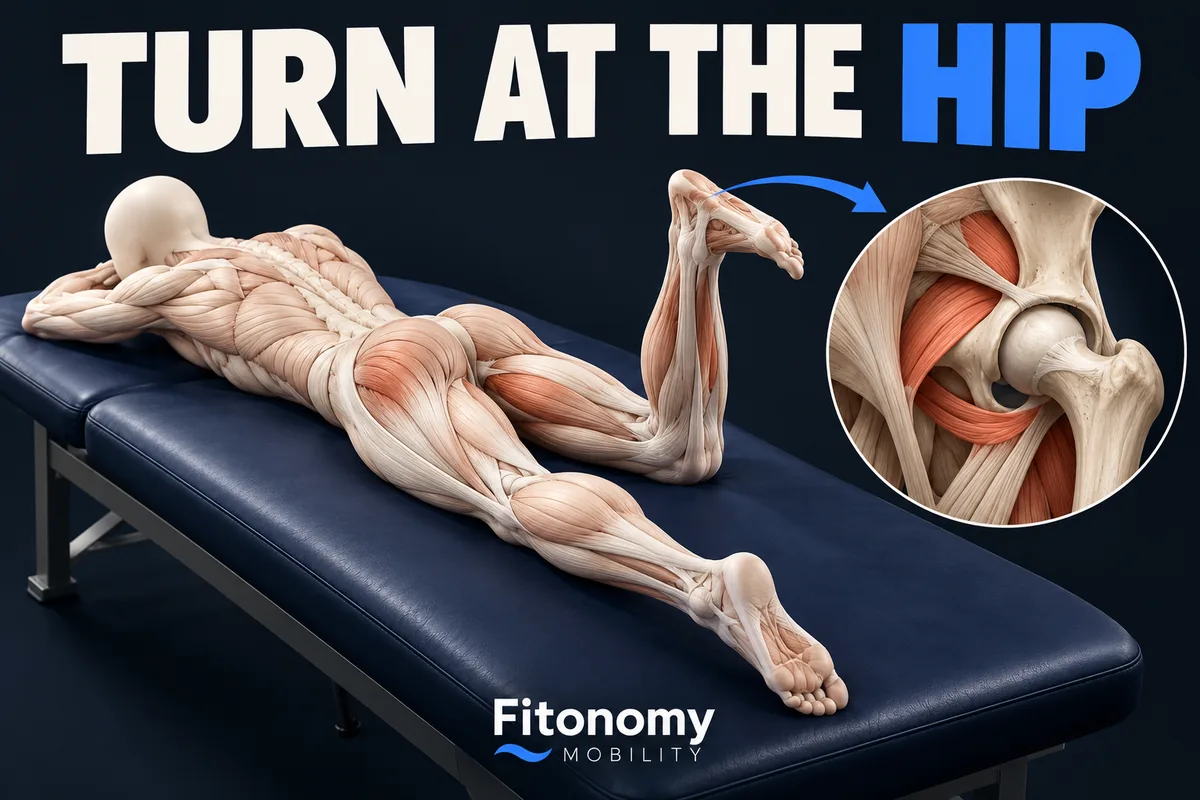
Prone means lying on your front. Use the surface, head support and safe transfer you were shown. Keep the pelvis and thigh resting, with one knee bent as taught. The source illustrates about a right angle at the knee; do not force that angle. If the position or breathing is uncomfortable, ask for guidance before trying it.
Understand the sideways path
With the knee bend maintained, the lower leg and foot travel gently to the side through a turn at the hip. The source describes the foot moving away from the body and returning, then toward the body and returning. Follow only your permitted directions and range. Keep the hips flat; do not pull the foot, push the knee, roll the pelvis or add a band.
Return through the middle
Bring the foot back to its taught middle position before changing direction. Use a small controlled path rather than letting it fall. A prone knee bend changes the knee angle. A straight knee hip lift raises the whole leg. This turn does neither and is not an automatic progression from those tasks.
Record the task and limits
Note the side, support, knee position and range and dose your clinician chose. Do not copy a normal hip angle from a diagram or use a phone estimate as a diagnosis. Stop for pain, pinching, tingling, dizziness or loss of control and seek advice. The beginner mobility guide helps organize practice, not clinical clearance. Article translations do not establish Mobility app languages or guarantee improvement.