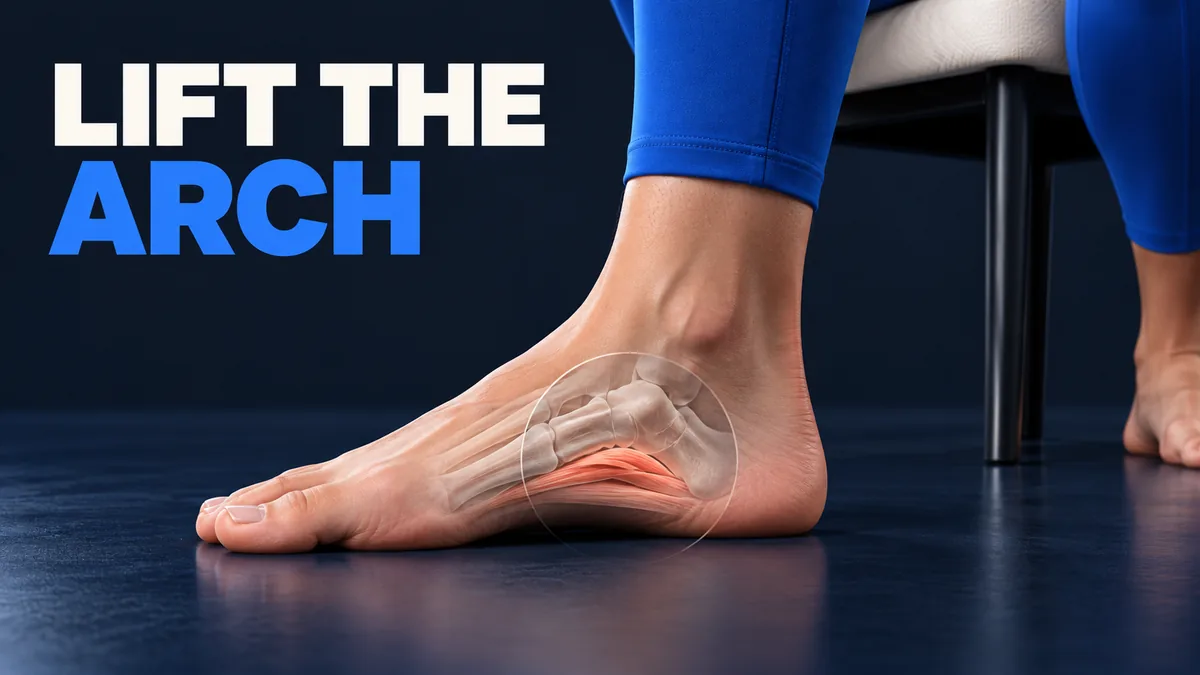
Choose a stable seat
Sit on a firm chair with both feet resting on a level floor. Move one foot where you can see it. This is a small active foot movement, not a treatment plan or a test of whether your arch looks normal.
Find the grounded points
Feel the heel, the pad below the big toe and the outer ball of the foot touching the floor. The NHS Bexley arch guide describes a seated arch lift with these parts grounded. Keep your knee comfortable and let the toes rest long.
Lift a little
Imagine drawing the front of the foot gently toward the heel without sliding either contact point. Let the inner arch rise only a small amount. The United Lincolnshire foot guide distinguishes an arch lift from a towel toe grip. A large hollow or forceful squeeze is not needed.
Check the toes
If your toes claw, curl or push hard into the floor, release and try a smaller effort. The toe curl guide teaches toe bending as a separate task. The toe spreading guide moves digits apart; neither is the goal of this arch lift.
Release and notice
Let the arch return to its resting shape and take a pause. Compare a few comfortable attempts rather than chasing a bigger height. Note whether your heel and forefoot stayed down and whether the toes remained relaxed. Foot shape varies, so appearance is not a score.
Choose what fits
If the movement is hard to find, simply relax the foot or try the seated heel and toe movement as a different gentle option. Stop with pain, cramping, numbness or other concerning symptoms. Recent injury, surgery or a clinician's restriction needs individual advice. This movement promises no treatment outcome or fixed gain.