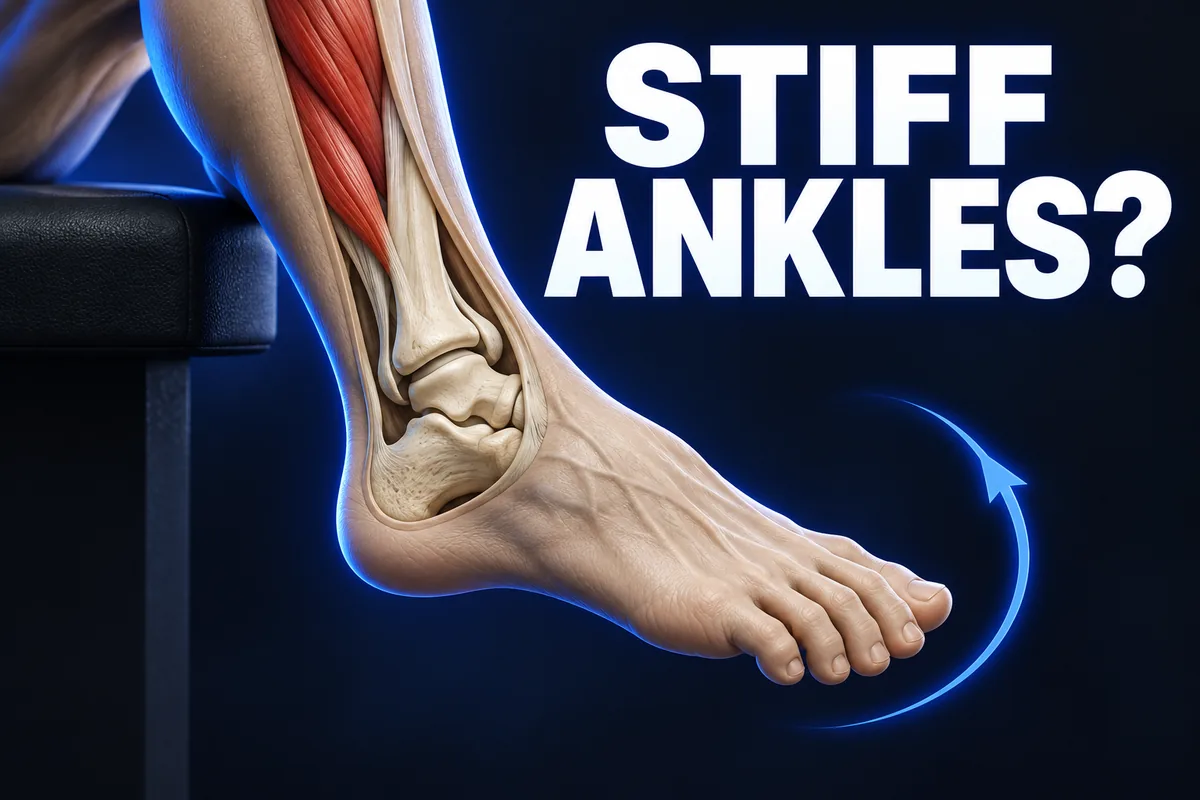
Seated ankle circles let you explore gentle foot and ankle movement without balancing on one leg. The useful target is a smooth, comfortable path, not the biggest circle. This is movement practice, not a way to diagnose stiffness or prove that an ankle is ready for sport.
For help choosing a short session, start with our beginner mobility guide. Ankle circles can be one seated option; you do not need to practise every joint in the same session.
Choose a comfortable seat
Use a sturdy chair without wheels, as recommended in the NHS sitting exercise guide. Sit with your back supported and one foot planted. Bring the other foot clear of the floor without leaning or gripping the seat tightly. If needed, support the lower calf on a stable padded support while leaving the heel and foot free.
Draw the circle slowly
- Let the moving foot trace a small comfortable circle. Guide the movement with the foot and ankle instead of swinging the entire leg. The path does not have to look perfectly round.
- Pause, reverse direction and move just as slowly. Then place the foot down, rest and repeat on the other side.
- Keep breathing and let the toes stay relaxed. Avoid twisting the knee or forcing the foot to reach an extreme position.
The Royal Berkshire NHS ankle movement leaflet describes slow ankle circles in both directions while sitting or lying. It is written for people after an injury and says to start when advised by a physiotherapist. Its rehabilitation schedule is not a universal fitness routine.
Two checks before doing more
- If your knee swings widely, reduce the circle and steady the leg. Use comfortable support rather than lifting the leg higher to make the movement look larger.
- If your toes curl hard or the foot cramps, put it down and rest. Do not push through repeated cramping, pain or tingling to complete the circle.
Try a small first practice
Three gentle circles in each direction on each side can be a starting example, not a required dose. Rest with both feet down afterward. Use fewer if comfort or control changes. If a clinician has given you a plan after injury or surgery, follow that plan rather than adding this example automatically.
Record control and setup
Write down the side, directions, number of circles, support and one observation, such as leg stayed still or used a smaller path. Compare sessions with similar seating and preparation. A temporary feeling of looseness or a bigger circle is not proof of lasting mobility improvement.
The knee to wall ankle check observes a different task, bringing the shin forward over a planted foot under load. Circle size cannot be converted into that distance, and neither home observation diagnoses an injury.
A standing calf stretch is another distinct option with its own setup and a held position. Choose according to the movement you want to practise. Fitonomy Mobility offers fitness guidance; its phone readings are estimates rather than clinical measurements.
For more foot control, practise seated toe spreading without curling.
Stop if this movement hurts. Recent injury, persistent swelling, numbness, ongoing pain or uncertainty about suitable movement calls for advice from a qualified clinician. Keep gentle practice separate from trying to treat unexplained symptoms.
Practise two clear ankle actions from a stable chair, then alternate slowly without letting the knees or trunk take over. Seated Heel and Toe Raises for Ankle Control
To practise inward and outward control separately from circles, see seated ankle inversion and eversion.
For a different small ankle path, try the seated ankle alphabet while keeping the leg quiet.
For the same ankle direction while standing, see the supported forefoot lift with heels planted.
To combine ankle movement with other gentle desk movements, see A Desk Mobility Break After Sitting.